Setting Up
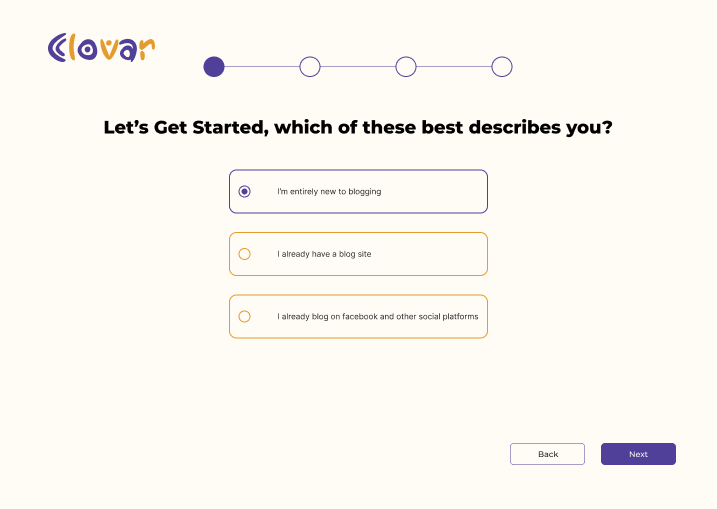
When you want to get started with Clovar, you'll need to select
if you are new to blogging, you already have a blog site or you
already blog on different social media platforms.
This will help us improve your experience with Clovar.
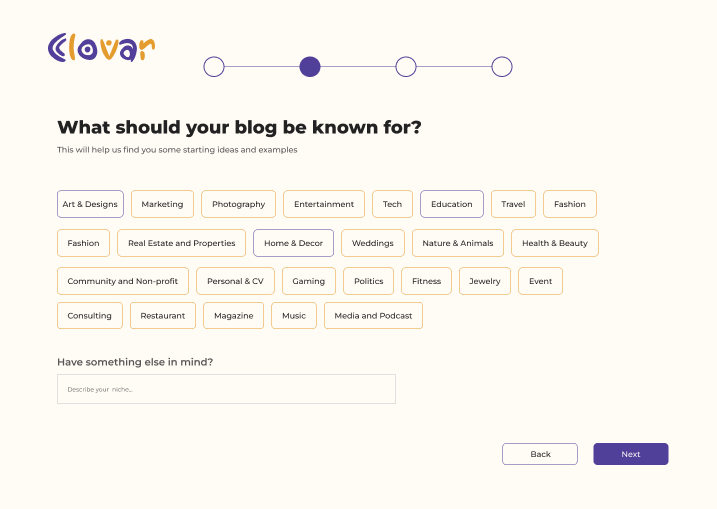
Next, you will have to select the niche that best fits your
needs.
Signing Up
After you have selected your niche, you will be taken to the
sign up page.
On the sign up page, you have the option of signing up with your
username and email, or directly with your google account, if you
have one.
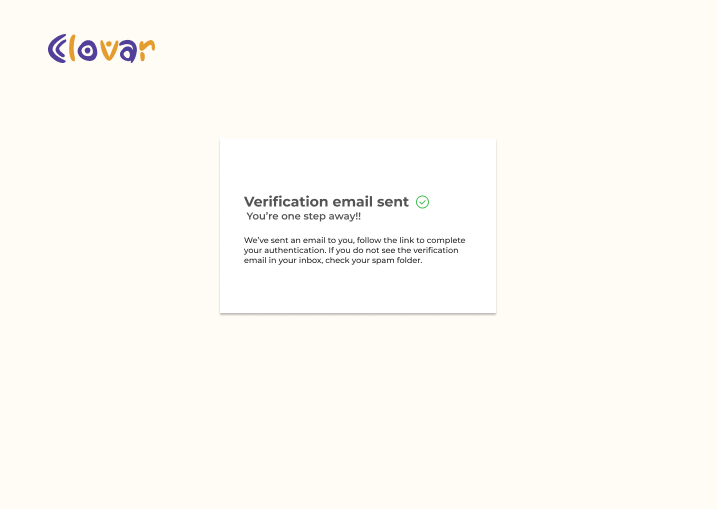
After you have signed up, you will receive an email with a link
to verify your account.
The verification email will contain a link that will verify your
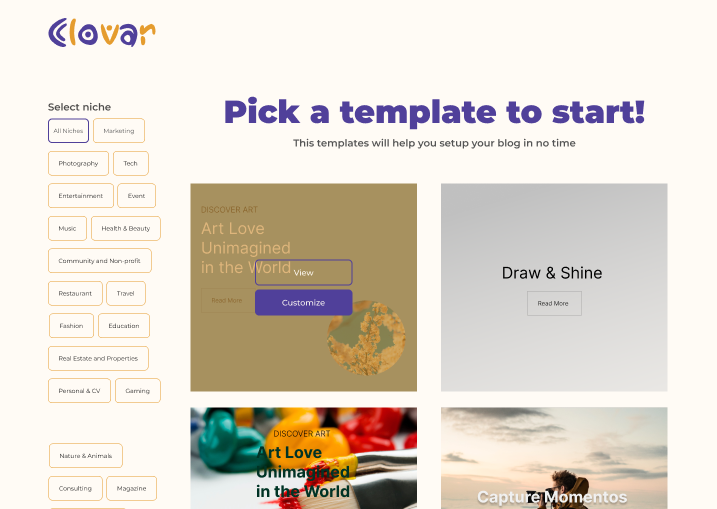
account and redirect you to the page to select templates.
The templates that will be available to you are based on the
niche you have selected.
Go to Templates Editing Section
Logging In
If you're signed out of your account and you want to login, you
can click on the login button on the home page and it will take
you to the login page.
Changing Password
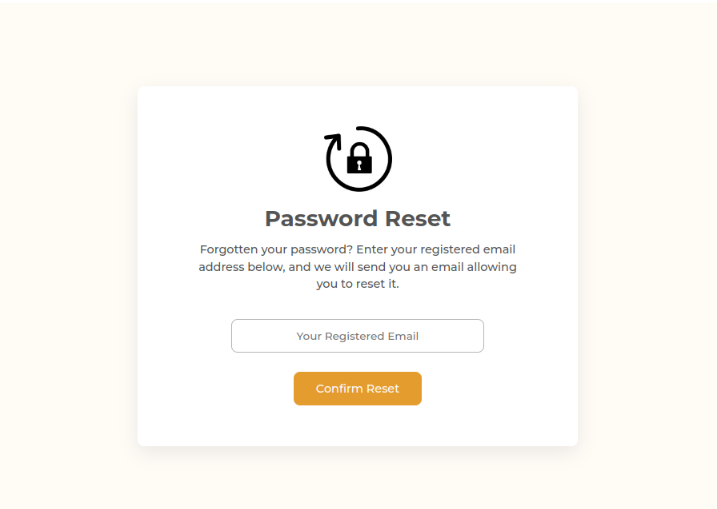
If you forgot your password, you can click on
forgot password on the login
page and it will take you to the forgot password page. The
forgot password text is not in the picture above, but it is on
the page.
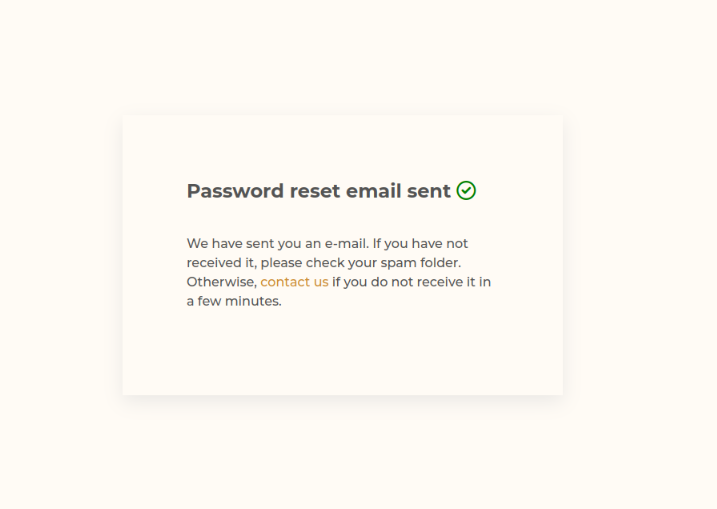
You will be taken to a page where you will be required to input
your registered email. The link to reset your password will be
sent to your registered mail.
When you click on the link in the password reset email, it takes
you to a page where you are required to input your new password.
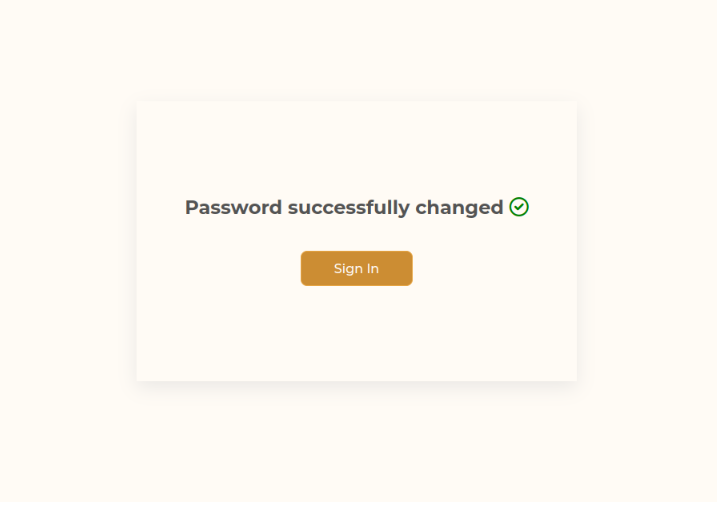
Afterwards, you're redirected to the login page where you can
login with your new password that's just been setup.
Viewing Templates
When you hover on a template, you will see the option to either
view the template or customize the template.
If you click on the view button, you will be able to see a
preview of the template.
Below is an art template preview.
Customizing a Template
In the previous step, if you clicked on customize instead of
view, you will be taken to a page where you will be able to
customize the template.
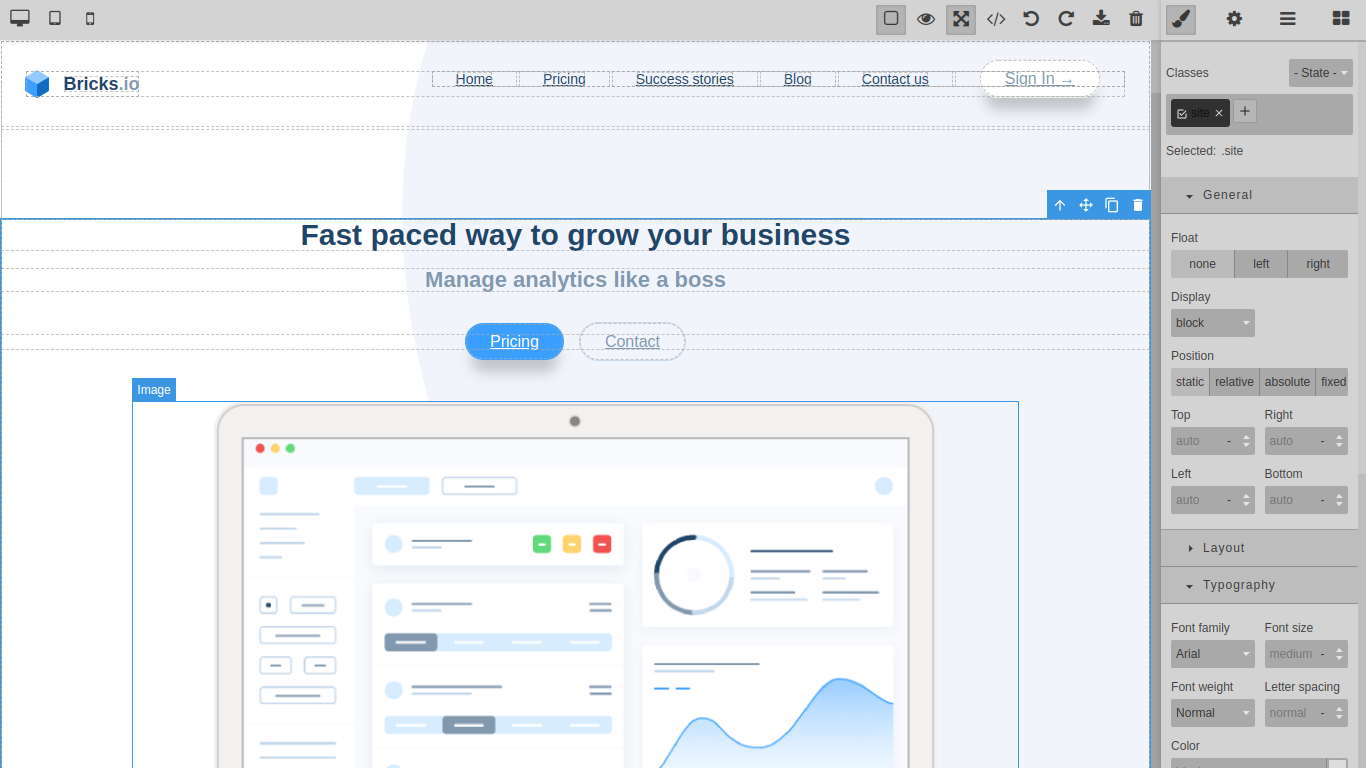
You will see different panels by the right and left of the page
that you can use to customize the template.
Below is a sample of what the customization page looks like.
 © Forge
Creating from Scratch
In the page to select templates, there's an option to select a
blank page where you can create your own design from scratch and
save it.
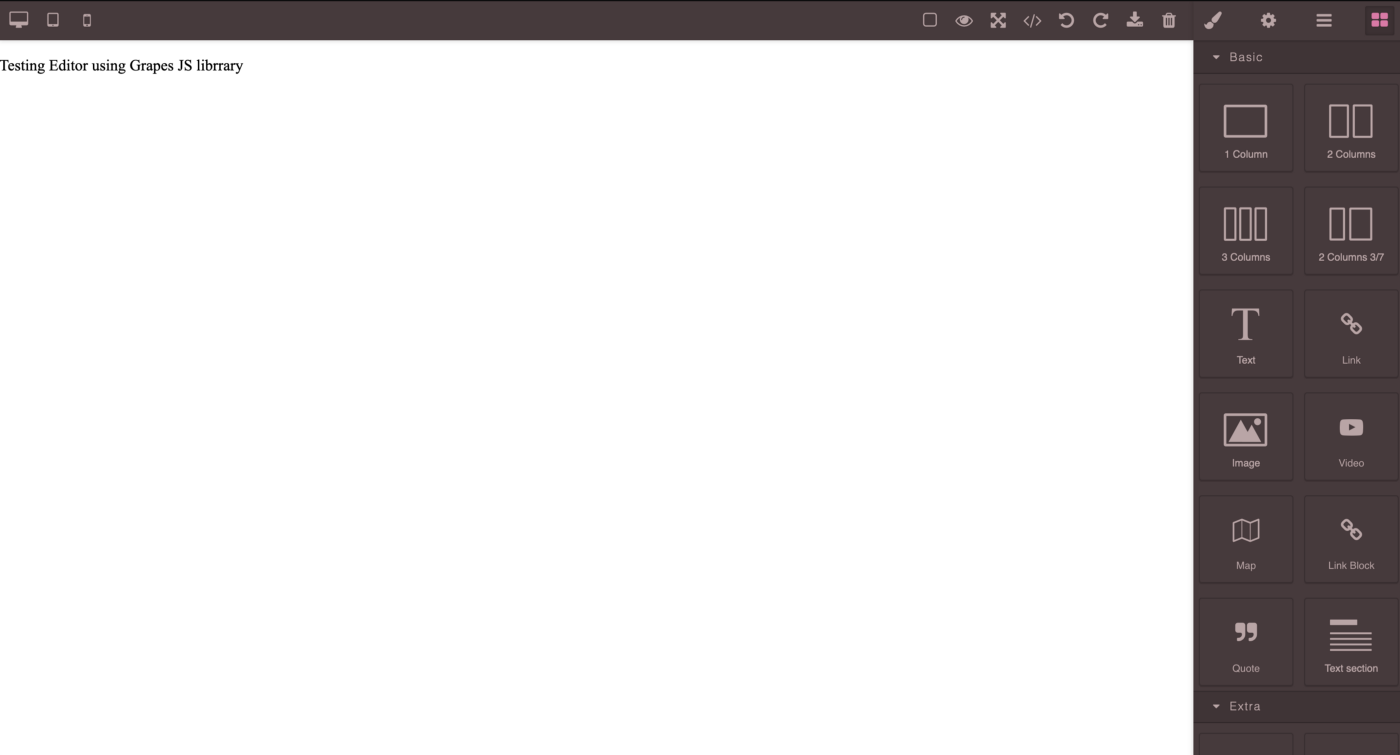
Below is how a blank page looks.
You have the option to add text, images, and so on to your page.
 © Forge
Cloning the Repository
The first step to running the app locally is to clone the
repository from GitHub, so you can have a local copy of the app.
Run the following command in your terminal to clone the
repository:
git clone https://github.com/zuri-training/team-15_my-cms.git
Switch your working directory to the cloned repository:
Installing Dependencies
Note
Pipenv
is the preferred tool for creating and managing virtual
environments for this project.
Dependencies need to be installed before the app can be
successfully run.
We will be using pipenv to install dependencies.
Pipenv uses a single command to create a virtual
environment for you to work in and install all of the
dependencies you need.
Run the following command in your terminal to create a virtual
environment and install dependencies:
Activate the virtual environment by running the following
command:
pipenv will now be available as a command in your
terminal.
Final Steps
Create a .env file in the same directory as the
settings.py (config folder) with the following
variable(s):
SECRET_KEY=your-generated-secret-key
Warning
Do not enclose the secret key in quotes.
SECRET_KEY is a secret key that is used to generate
cryptographic hashes for your app. It's a long, random-like
string.
You can generate a secret key easily at
Djecrety.ir
Next, run the following command to run the migrations:
This will create a database called
team-15_my-cms in the
team-15_my-cms database on your local machine.
Finally, run the following command to start your server:
python manage.py runserver
You can now access your app at
http://localhost:8000
GrapeJS
GrapesJS is an open-source, multi-purpose, Web Builder Framework
which combines different tools and features with the goal to
help you (or users of your application) to build HTML templates
without any knowledge of coding.
It's a perfect solution to replace the common WYSIWYG editors,
which are good for content editing but inappropriate for
creating HTML structures. You can see it in action with the
official demos, but using its
API
you're able to build your own editors.
django-cms
django CMS was originally conceived by web developers frustrated
with the technical and security limitations of other systems.
Its lightweight core makes it easy to integrate with other
software and put to use immediately, while its ease of use makes
it the go-to choice for content managers, content editors and
website admins.
For the Developer
Developers can integrate other existing Django applications
rapidly, or build brand new compatible apps that take advantage
of django CMS's publishing and editing features.
For the Content Editor
django CMS is user friendly and has a very intuitive drag and
drop interface. It's built around the needs of multi-lingual
publishing by default, not as an afterthought: all websites,
pages and content can exist in multiple language versions.
More details at django-cms.org/en/.
FAQ 1
Do I need to be a
designer or developer to use Clovar?
No, you don't need to be a designer or developer to use Clovar.
You can use Clovar as a freelancer or as a full-time employee.
FAQ 2
How do I change the
design of my site?
On your dashboard, you'll have a list of your sites. Click on
the site you want to change the design of and you'll be able to
edit the design of your site.
FAQ 3
How can I advertise
on my site?
You can advertise on your blog by using our advertising
platform. You can find the different ways to do that in the
marketing and integrations secition in the dashboard.


